Easy Easter Crochet Patterns: Free 2D Projects to Try Now
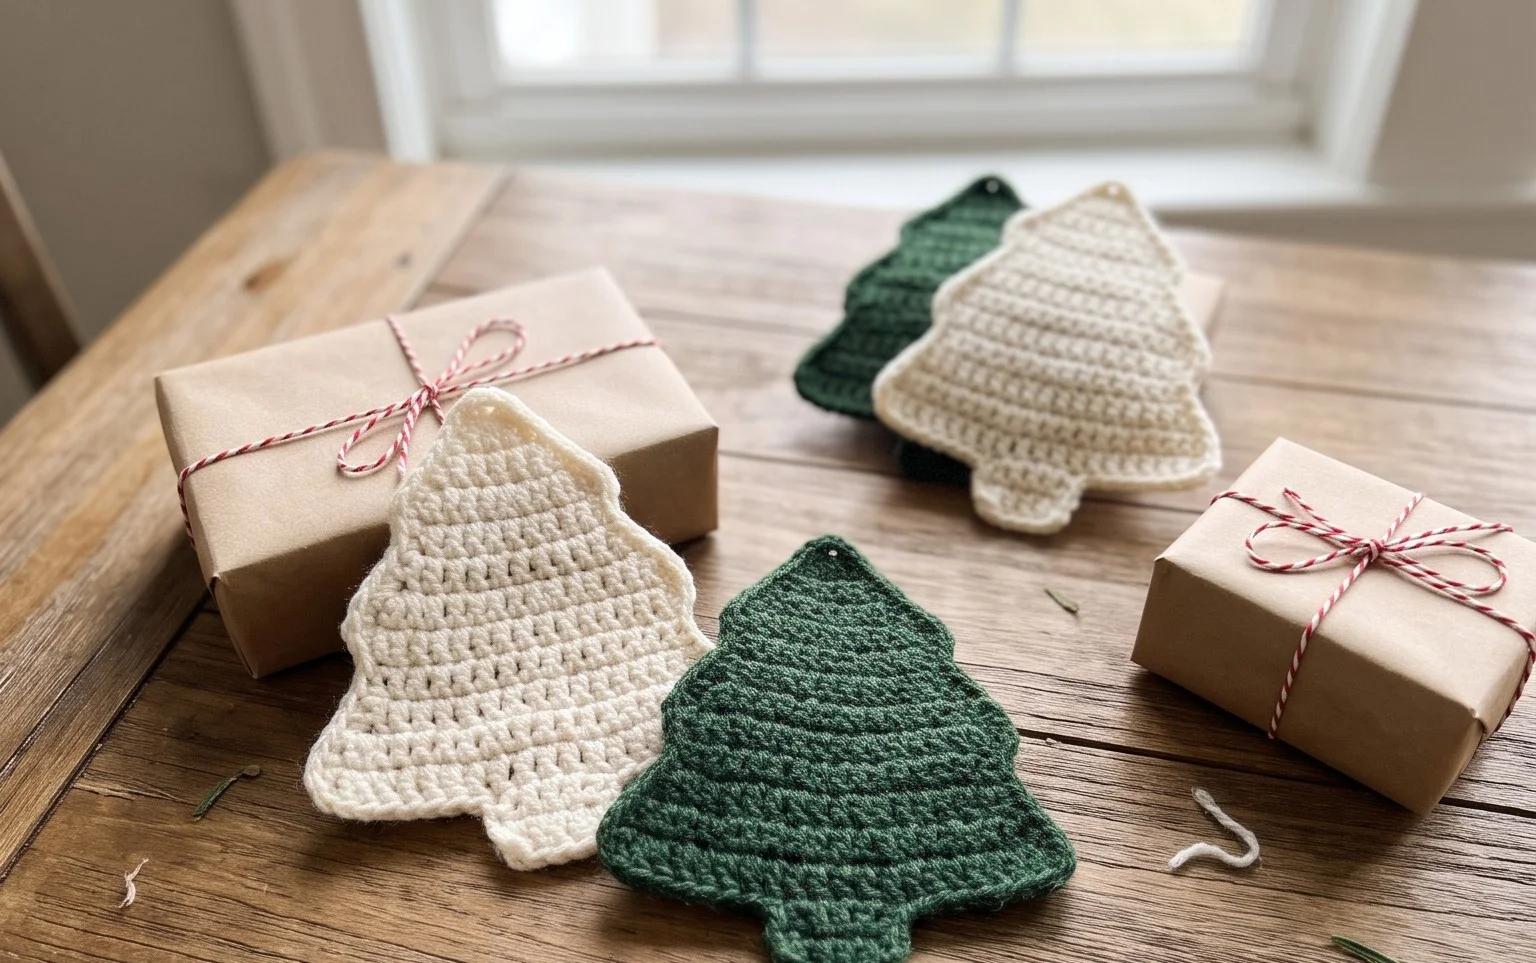
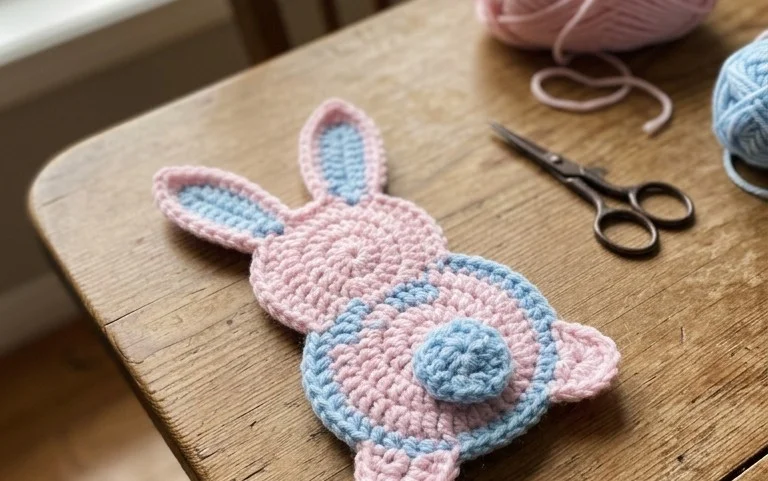
These 2D Easter motifs sit flat against your mantel or can dangle from a branch, offering a soft alternative to plastic decorations. You might feel the cotton yarn sliding through your fingers as you work, creating clear edges and firm shapes that hold up year after year. These patterns suit beginners who want a quick win without complex assembly, as each piece relies on basic stitches like single crochet and simple increases. You will learn how to transition between colors to create sharp lines, a technique that transforms simple shapes into recognizable festive designs for your holiday home.
Why You’ll Love This Pattern
This beginner-friendly project creates a structured, durable crochet basket using the sturdy waistcoat stitch. Because it works in continuous rounds with a bulky yarn, the basket takes shape quickly, making it a satisfying project for an afternoon session. The density of the fabric ensures the basket walls stand upright without sagging, providing a practical storage solution for your craft room, entryway, or nursery. You can also customize the final look by adding leather handles or using a contrasting color for the final round to highlight the top edge.
I managed to finish this basket in just two hours. The stitch definition is beautiful and it holds its shape perfectly even when filled with heavy yarn cakes.
— Sarah, home organizer
Pattern Overview & Skill Level
- Skill Level: Advanced Beginner
- Approximate Time: 2 to 3 hours
- Construction: Continuous spiral rounds with a flat circular base, working up the sides in a tube-like fashion
- Finished Dimensions: 8 inches in diameter and 6 inches in height
Materials & Supplies Needed
- Yarn: Super Bulky #6, cotton-blend cord or t-shirt yarn, approximately 150 yards.
- Hook Size: 8.0 mm (L-11).
- Notions: Stitch markers to track the start of rounds, tapestry needle for weaving in ends, and optional leather tags for finishing.
- Safe yarn substitutions: You can substitute with two strands of worsted weight #4 cotton yarn held together; this will yield a similar gauge but may result in a softer, more flexible basket.
Stitch Guide & Abbreviations (US Terms)
- MR: Magic ring
- ch: Chain
- st(s): Stitch(es)
- sl st: Slip stitch
- sc: Single crochet
- inc: Increase (work 2 sc in the same stitch)
- BLO: Back loop only
- Waistcoat stitch: Work a single crochet by inserting the hook directly into the center of the “V” of the stitch from the row below, rather than through the top loops.
Step-by-Step Pattern Instructions
Basket Base
- Rnd 1: Start with a MR, work 6 sc into the ring. Pull tight to close. (6 sts)
- Rnd 2: 2 sc in each st around. (12 sts)
- Rnd 3: [1 sc, inc] repeat 6 times. (18 sts)
- Rnd 4: [2 sc, inc] repeat 6 times. (24 sts)
- Rnd 5: [3 sc, inc] repeat 6 times. (30 sts)
- Rnd 6: [4 sc, inc] repeat 6 times. (36 sts)
- Rnd 7: [5 sc, inc] repeat 6 times. (42 sts)
Basket Sides
- Rnd 8: Work in BLO, 1 sc in each st around. (42 sts)
- Rnd 9: Working in both loops, 1 sc in each st around. (42 sts)
- Rnds 10-18: Work in waistcoat stitch (center of the “V”) in each st around. (42 sts)
Finishing
- Rnd 19: Sl st in each st around the final round to create a clean, sturdy edge.
- Fasten off yarn, leaving a 6-inch tail. Use the tapestry needle to weave the end through the back of the work to secure it. If using leather handles, attach them now to the exterior using heavy-duty thread or Chicago screws.
Care & Washing Instructions
- Spot clean with a damp cloth and mild detergent for minor spills or dust.
- If a full wash is necessary, machine wash on a delicate cycle in a mesh garment bag using cold water.
- Reshape the basket by hand while damp and allow it to air dry completely on a flat surface to maintain the circular base integrity.
Pro Tips & Common Mistakes to Avoid
Maintain consistent tension throughout the project, especially when working the waistcoat stitch. Because you are inserting the hook into the center of the stitch, the work can feel tight; use a slightly larger hook if you find it difficult to pull the yarn through. Always use a stitch marker at the start of every round, as spiral construction makes it easy to lose your place. If you wish to adjust the size, add more increase rounds to the base before starting the sides, keeping in mind that each additional inch in diameter will require approximately 20-30 extra yards of yarn.
Frequently Asked Questions
Can I use acrylic yarn instead of cotton cord?
Yes, but be aware that acrylic is softer and stretches more than cotton or jersey cord. Your basket may have more slouch and require a stiffening spray or lining to stand up straight.
Is this pattern suitable for a total beginner?
While the stitches are basic, the waistcoat stitch requires a steady hand and consistent tension. Beginners who are comfortable with standard single crochet should find this manageable.
Can I make the basket taller?
Absolutely. You can simply repeat the waistcoat stitch rounds until the basket reaches your desired height, ensuring you have enough yarn to complete the final slip stitch round.
Can I sell the baskets I make from this pattern?
You are welcome to sell finished items made from this design. Please credit the original pattern designer when listing your products online.
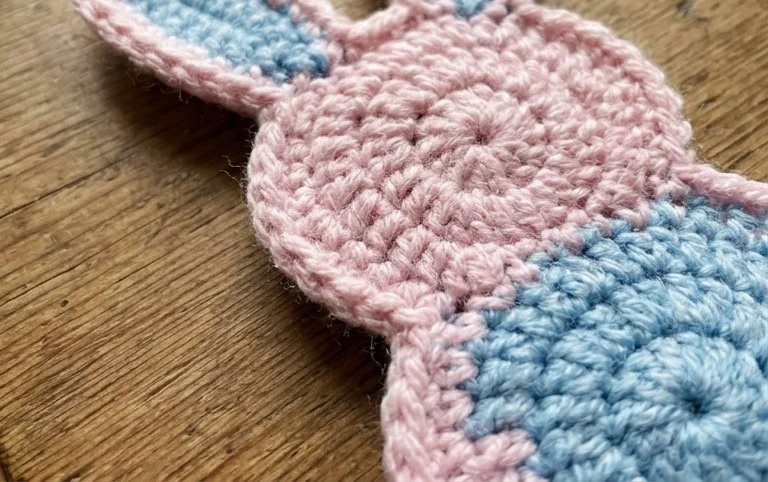
Seeing these charming 2D decorations finished brings a bit of handmade cheer to any Easter display. You can experiment by switching to a glittery metallic thread for an elegant finish or adjusting the hook size to turn them into larger wall hangings. Please share a photo of your finished work on social media so others can see your color choices. Browse the rest of the site for more free patterns to build your collection for upcoming seasons and holiday projects throughout the year.