Giant Continuous Granny Square Blanket: Free Pattern
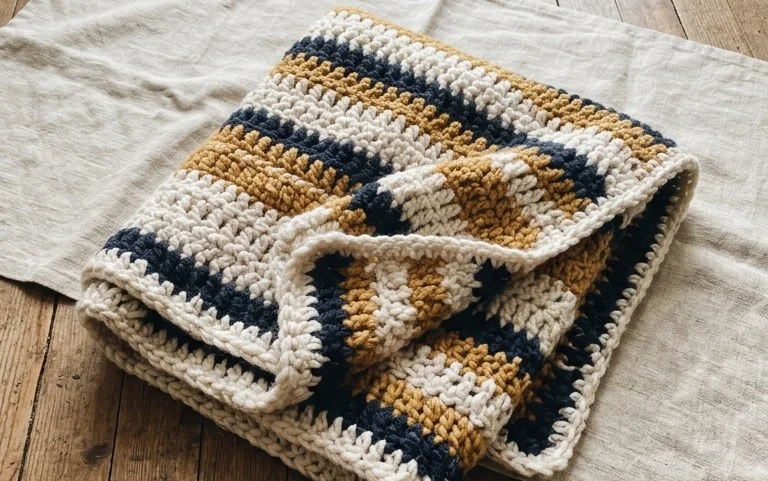
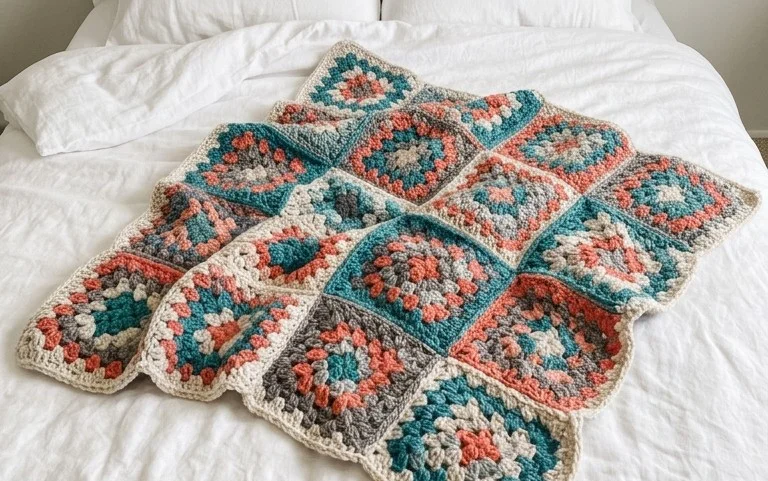
Soft wool draped over your legs creates an instant sense of home while you work through the rhythmic clusters of this blanket. This classic construction method relies on simple double crochet stitches to grow a single, expansive square that stays perfectly flat without any curling at the edges. It is a relaxing choice for anyone who enjoys productive downtime, whether you are unwinding after a long workday or filling a quiet weekend morning. You will master the essential center-join technique that keeps your tension steady from the first round to the final border, resulting in a cozy, heirloom-quality piece for your living room sofa.
Why This Project Is Worth Making
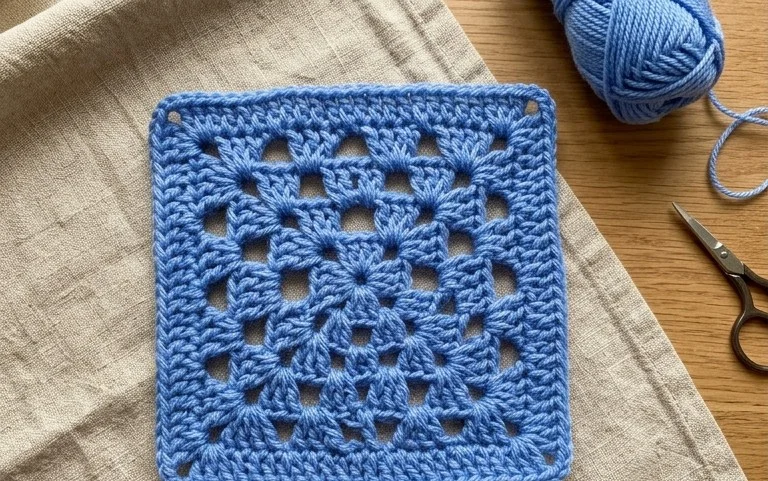
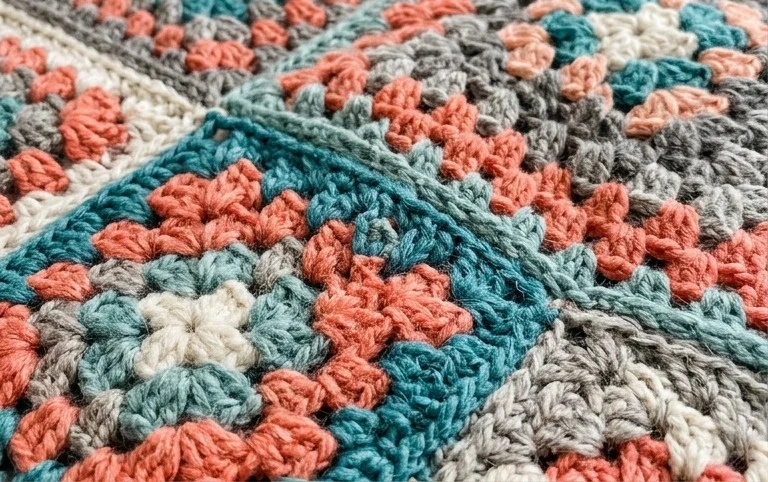
The Classic Crochet Granny Square is the fundamental building block for countless heritage projects, from cozy afghans to modern garments. This pattern focuses on the traditional cluster-based square, which creates a stable, balanced fabric that does not distort over time. It is an ideal way to practice consistent tension because the repeat is short and rhythmic. You can complete a single square in about 15 minutes, making this a highly portable project for your commute or quiet evenings. Because it uses simple double crochet stitches, it is forgiving for beginners while remaining a meditative process for advanced crafters.
I finally mastered the center joining technique after trying this specific pattern. It feels very secure and my squares are finally laying flat without any bowing at the corners.
— Sarah, weekend hobbyist
Pattern Overview & Skill Level
- Skill Level: Beginner
- Approximate Time: 15 minutes per square
- Construction: Worked in joined rounds, starting from the center and moving outward
- Finished Dimensions: 5 inches by 5 inches using medium weight yarn
Materials & Supplies Needed
- Yarn: Worsted weight (#4) acrylic or wool blend, approximately 20 yards per square.
- Hook Size: 5.0 mm (H-8).
- Notions: Tapestry needle for weaving in ends, scissors, and optional stitch markers for keeping track of the corners.
- Yarn Substitutions: You can use DK weight yarn with a 4.0 mm hook for a smaller, tighter square, or bulky weight yarn with a 6.0 mm hook for a larger, quicker square. Adjusting your yarn weight will change the final size of the square significantly.
Stitch Guide & Abbreviations (US Terms)
- ch: Chain
- st: Stitch
- sl st: Slip stitch
- dc: Double crochet
- dc-cluster: 3 dc stitches worked into the same space
- sp: Space
- MR: Magic ring (or alternative ch-4 and sl st to form a loop)
Step-by-Step Pattern Instructions
Center and Foundation
- Rnd 1: Start with a MR. Ch 3 (counts as first dc), work 2 dc into the ring. Ch 2, *3 dc into ring, ch 2. Repeat from * 2 more times. Join with a sl st to the top of the beginning ch-3. (12 dc, 4 ch-2 corner spaces)
Expanding the Square
- Rnd 2: Sl st into the next 2 sts and into the first ch-2 corner space. Ch 3, 2 dc into same space, ch 2, 3 dc in same corner space. *Ch 1, skip 3 dc, (3 dc, ch 2, 3 dc) in next ch-2 corner space. Repeat from * 2 more times. Ch 1, join with a sl st to the top of the beginning ch-3. (24 dc, 4 corner spaces, 4 ch-1 side spaces)
- Rnd 3: Sl st to the first ch-2 corner space. Ch 3, 2 dc in same space, ch 2, 3 dc in same space. *Ch 1, 3 dc in the next ch-1 side space, ch 1, (3 dc, ch 2, 3 dc) in the next corner space. Repeat from * 2 more times. Ch 1, 3 dc in last ch-1 space, ch 1, join with a sl st to the top of the beginning ch-3. (36 dc, 4 corner spaces, 8 ch-1 side spaces)
- Finishing: Fasten off yarn, leaving a 6-inch tail. Weave the end through the back of the stitches to secure it.
Care & Washing Instructions
- Hand wash in cool water using a mild wool-safe detergent to maintain fiber integrity.
- Lay the square flat on a clean towel to air dry, reshaping it into a perfect square while damp.
- Avoid wringing or twisting the fabric, as this can stretch the stitches out of their original shape.
Pro Tips & Common Mistakes to Avoid
- Maintain consistent tension: Keep your yarn supply relaxed. Pulling too tightly on the working yarn often causes the square to curl or cup inward.
- Count your corners: Use a stitch marker in the ch-2 space of every corner. This helps you identify exactly where to place your increases on the next round.
- Weaving ends: Always weave your yarn tail through the loops on the back side of the work in at least two different directions to prevent the knot from unraveling after washing.
- Adjusting size: You can continue repeating the logic of Rnd 3 to make the square as large as you like. Each additional round will increase your yarn usage by approximately 15 percent.
Frequently Asked Questions
Can I use cotton yarn instead of acrylic?
Yes, cotton yarn works beautifully for this pattern, though it has less elasticity. Your squares may look more defined, but they will be slightly heavier than those made with acrylic.
Why is my square not laying flat?
If the square is curling like a bowl, your hook size may be too small for the yarn weight. If the center is rippling, you may have too many stitches or your tension is too loose.
Can I sell the squares I make using this pattern?
Yes, you are welcome to sell finished items made from this design. Please credit the designer when listing your products online.
Is this pattern suitable for a total beginner?
Absolutely. It only requires knowledge of the chain and double crochet stitches, both of which are common starting points for new crocheters.
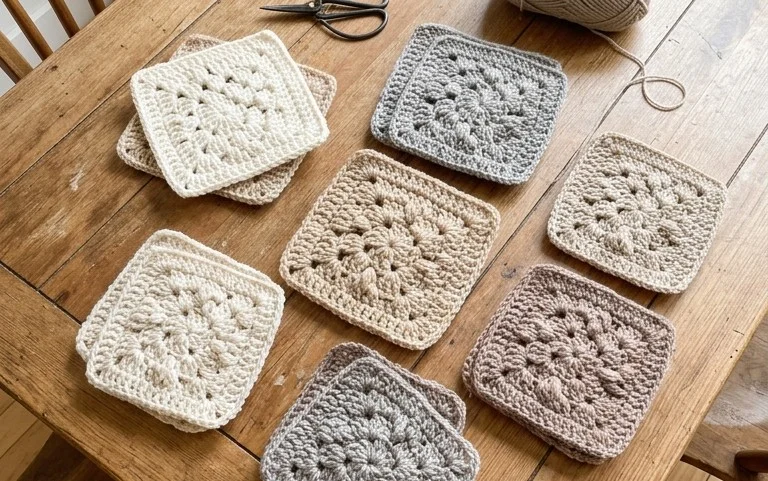
Watching the rows expand until they cover your lap is a deeply satisfying reward for the hours spent at your hook. If you want to change the look, try alternating two high-contrast yarn colors every two rounds to create a bold graphic effect that makes the pattern pop. You should share your progress on social media so others can see your color choices. Browse through the other free patterns on the blog to find your next project, as there are many different designs waiting for your unique touch.