Easy Ribbed Beanie: Free Crochet Pattern for Beginners
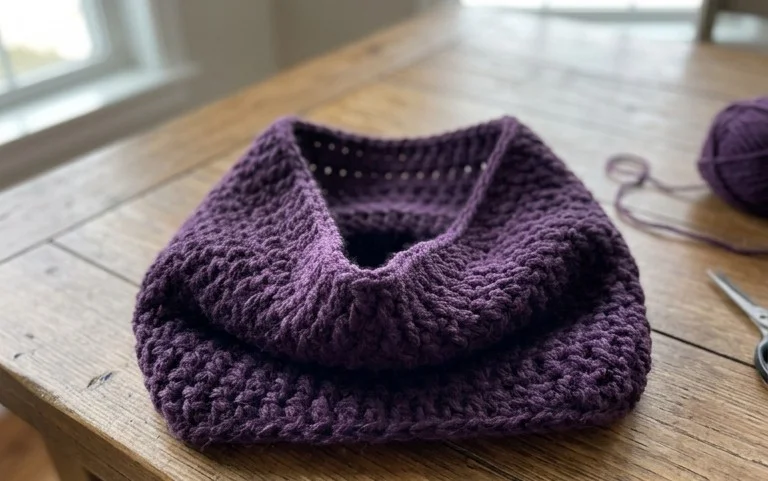
This simple ribbed hat holds its shape beautifully while feeling soft against your ears on a cold winter walk. Because the design relies on a basic back loop technique, it offers a relaxing rhythm that helps you build confidence if you are new to working with yarn. The fabric mimics the look of store-bought knitwear, making it a thoughtful handmade gift for friends or family members. You only need to master one fundamental stitch to complete the entire rectangular panel, which means you spend less time counting and more time watching your progress grow. It feels sturdy, keeps you warm, and looks polished enough for any casual outfit in your wardrobe.
Why You’ll Love This Pattern
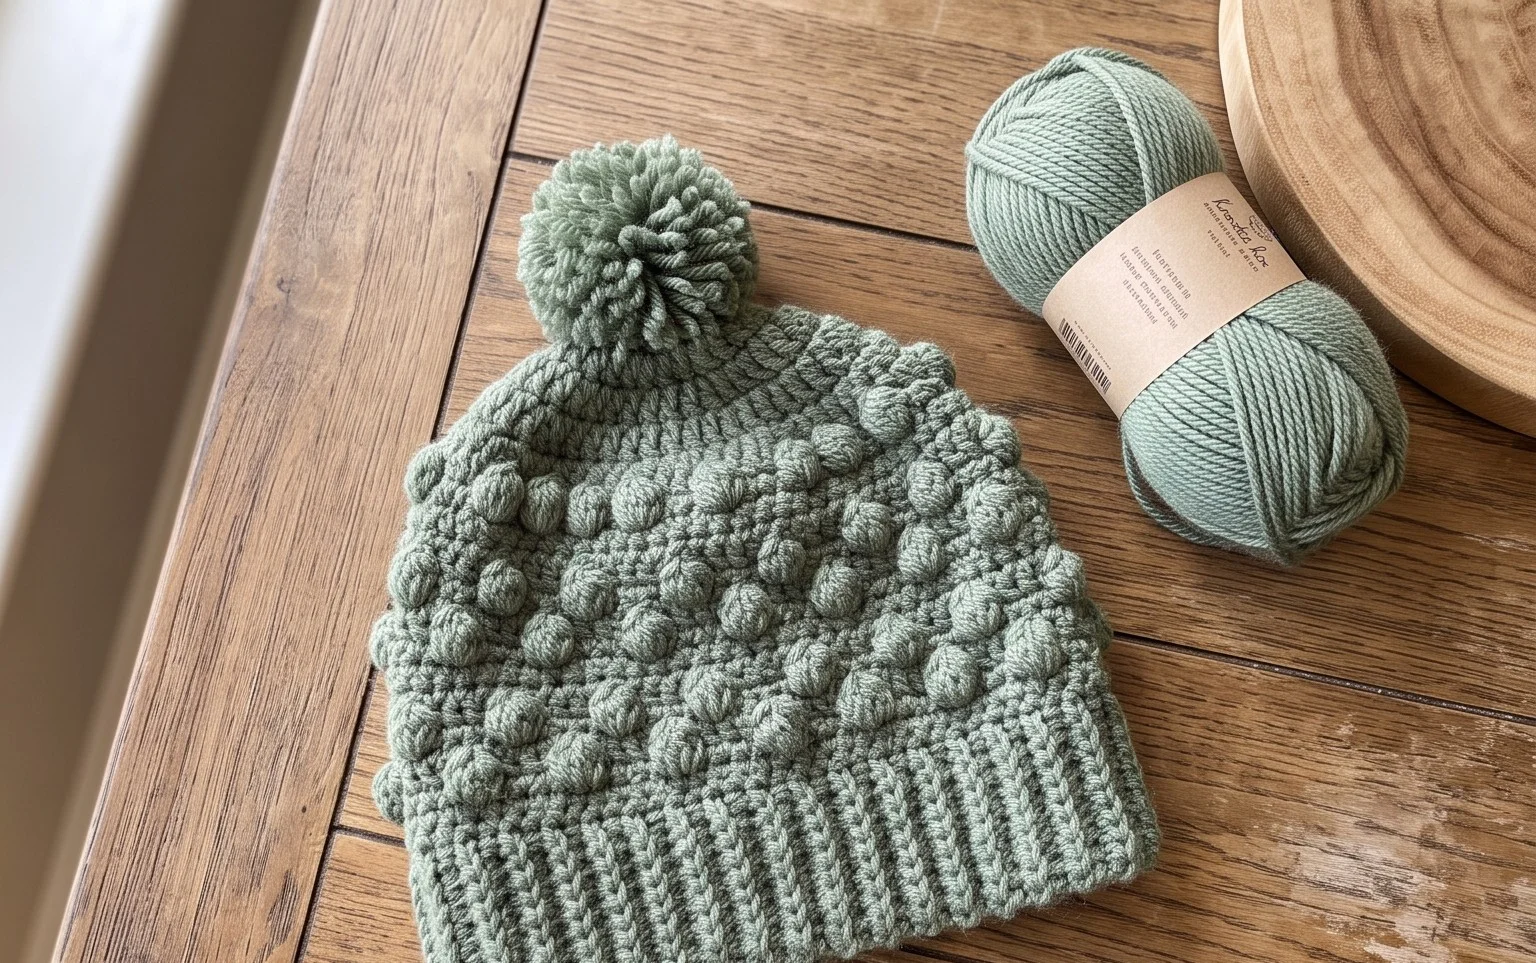
This crochet ribbed beanie pattern uses a simple back loop only technique to create a stretchy, professional-looking garment with a classic silhouette. Because the pattern is worked flat as a rectangle and then seamed, it is highly accessible for those who find working in circular rounds intimidating. The vertical ribbing provides excellent elasticity, allowing the hat to fit a wide range of adult head sizes comfortably while maintaining its shape throughout the day.
The project is remarkably fast, typically requiring only two to three hours of focused work, making it a reliable choice for last-minute gifts. Since you only need one skein of standard weight yarn, you can easily use up high-quality leftovers from your stash without worrying about dye-lot consistency across large sections. The resulting fabric is dense enough to provide warmth during chilly weather but breathable enough to be worn comfortably in early spring.
I finally learned how to make a beanie that does not look homemade thanks to the clear instructions and the ribbing technique. It fits my head perfectly and has become my go-to gift for friends.
— Sarah, hobbyist crocheter
Pattern Overview & Skill Level
- Skill Level: Beginner
- Approximate Time: 2–3 hours
- Construction: Worked flat as a rectangular panel, then seamed along the side and gathered at the crown
- Finished Dimensions & Sizing: Fits average adult head (20–22 inch circumference), 9 inches height
Materials & Supplies Needed
- Yarn: Worsted weight (#4), wool or acrylic blend, approximately 200 yards.
- Hook Size: 5.0 mm (US H-8).
- Notions: Tapestry needle for seaming and weaving ends, locking stitch markers, measuring tape, and scissors.
- Safe yarn substitutions: You can use a DK weight yarn for a finer texture, but you must add 5-10 extra foundation chains and 2 extra rows to maintain the dimensions.
Stitch Guide & Abbreviations (US Terms)
- ch: chain
- st/sts: stitch/stitches
- sl st: slip stitch
- sc: single crochet
- BLO: back loop only (insert hook under the back loop of the stitch only, leaving the front loop exposed to create the ribbing effect)
- RS: right side
- WS: wrong side
Step-by-Step Pattern Instructions
Main Panel
- Row 1: Ch 45. Sc in the second ch from hook and in each ch across. Turn. (44 sts)
- Row 2: Ch 1, sc in BLO of each st across. Turn. (44 sts)
- Rows 3–60: Repeat Row 2 until the piece measures approximately 18 inches unstretched. Ensure the piece is long enough to wrap around the head comfortably before proceeding. (44 sts)
Assembly and Finishing
- Seaming: Fold the rectangle in half, matching the short ends. Using a tapestry needle and a length of matching yarn, sl st or whipstitch the two short ends together to form a tube. Turn the tube inside out so the seam is on the inside.
- Closing the Crown: Using your tapestry needle and a long tail of yarn, weave the yarn in and out along the top edge of the tube. Pull the yarn tight to cinch the top shut, ensuring the opening is completely closed. Secure with a double knot.
- Weaving Ends: Turn the hat inside out if necessary to weave in your starting and ending yarn tails securely into the ribbing. Trim any excess yarn.
Care & Washing Instructions
- Hand wash in cool water using a gentle wool-safe detergent to preserve fiber elasticity.
- Do not wring or twist the item; instead, gently press excess water out using a clean towel.
- Lay the beanie flat on a towel to air dry, reshaping it slightly while damp to maintain the intended dimensions.
Pro Tips & Common Mistakes to Avoid
- Maintain consistent tension, especially on the turning chain, to ensure the edges of your rectangle remain straight.
- Place a stitch marker in the first and last stitch of every row to avoid accidentally dropping stitches, which causes the edges to become uneven.
- When seaming, use the mattress stitch for an invisible finish that mimics the look of the ribbing, rather than a bulky whipstitch.
- Adjusting the size is simple: add more chains at the start to increase the height of the hat, or add more rows to increase the circumference, though keep in mind this will increase your total yarn requirement.
Frequently Asked Questions
Can I substitute a different yarn weight for this pattern?
Yes, but you will need to adjust your starting chain count to reach the desired height of 9 inches. Lighter yarns will require more chains, while heavier yarns will require fewer.
Is this project suitable for a complete beginner?
Absolutely. It relies entirely on the single crochet stitch and the back loop only technique, which are foundational skills that require little practice to master.
What is the best way to determine if the hat will fit correctly?
Check the fit by wrapping the finished rectangle around your head before seaming. It should feel snug but not tight, as the ribbing will stretch slightly with wear.
Can I sell the hats I make from this pattern?
You are welcome to sell finished items created from this pattern. Please credit the design appropriately in your product listings.
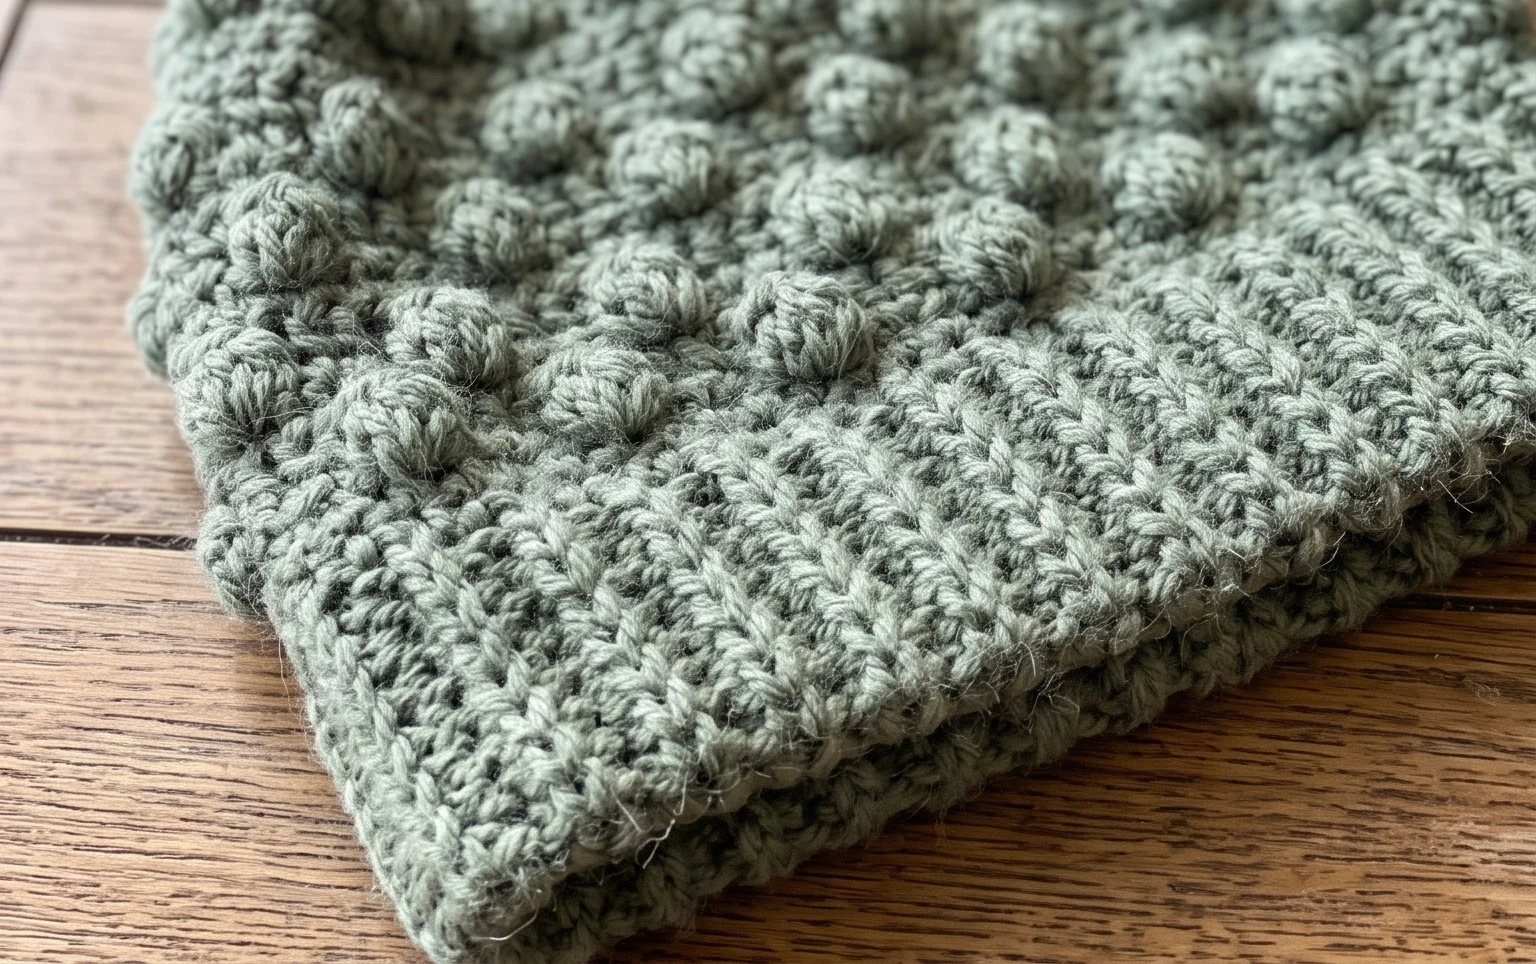
Your finished hat serves as a cozy layer that holds up well through multiple seasons of regular use. You might consider adding a faux fur pom-pom to the crown for extra flair, or you can switch to a wool-blend yarn if you live in an area with particularly harsh winters. Please share a photo of your creation on social media so others can see how your color choices turned out. Feel free to browse the rest of the blog for more accessible project ideas whenever you are ready to start another afternoon of stitching.