How to Crochet a Bear Bucket Hat: Free Beginner Pattern
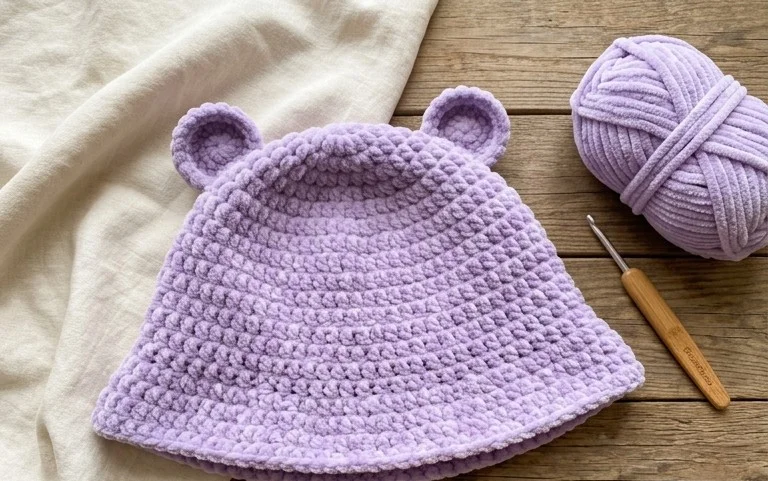
Soft, rounded ears sit perfectly on the brim of this cozy accessory, turning a simple headpiece into a playful statement piece for any wardrobe. This hat feels sturdy yet flexible, providing just enough structure to hold its shape while remaining comfortable for all-day wear. It is a rewarding project for those who enjoy working with basic stitches to create something whimsical and functional for friends or family. You will learn to incorporate shaping techniques through consistent increases and decreases, mastering the art of creating soft curves without any complex finishing work. This project turns basic yarn into a charming gift in just a few sittings.
Why You’ll Love This Pattern
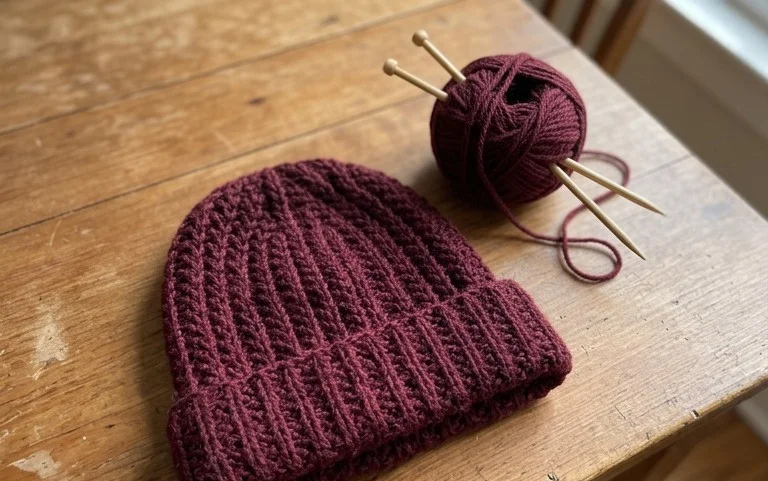
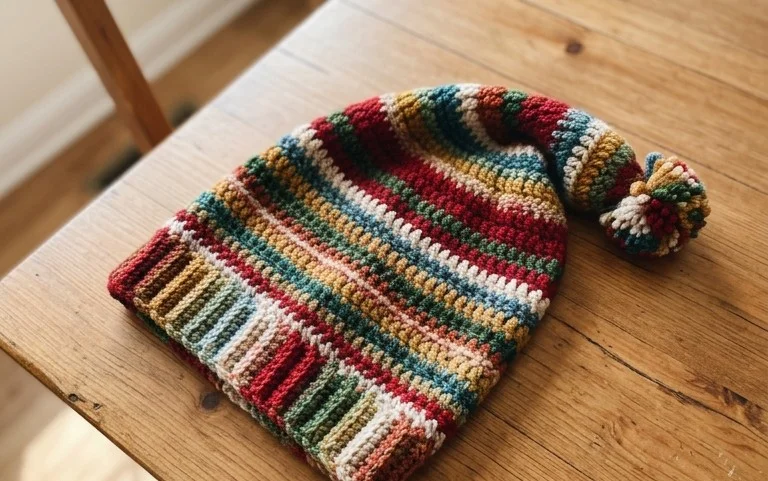
This crochet ribbed beanie pattern utilizes a simple back-loop-only technique that creates a professional, store-bought look with minimal effort. It is a quick project that works up in just a few hours, making it ideal for last-minute gifts or stocking your local craft fair inventory. The ribbing provides a natural, stretchy elasticity that ensures a snug fit across various head sizes without needing complex shaping. Because it uses a basic half-double crochet stitch, it is a relaxing repeat pattern that allows you to work comfortably while listening to a podcast or watching television.
I finished this hat in one evening while watching a movie. The ribbed texture looks so much more expensive than the time it actually took to make.
— Sarah, hobbyist crocheter
Pattern Overview & Skill Level
- Skill Level: Beginner
- Approximate Time: 3 to 4 hours
- Construction: Worked flat as a rectangular panel and seamed to form a tube, then gathered at the top
- Finished Dimensions & Sizing: 9 inches wide by 11 inches tall (unfolded); fits most adult heads due to high elasticity
Materials & Supplies Needed
- Yarn: Worsted weight (#4), wool or acrylic blend, approximately 220 yards. A solid color highlights the ribbed texture best.
- Hook Size: 5.5 mm / I-9
- Notions needed: Yarn needle for seaming, locking stitch markers, and a pair of scissors.
- Safe yarn substitutions: Any soft worsted-weight acrylic, wool, or cotton-blend yarn works well. Using 100% cotton will result in a heavier, less stretchy hat, while superwash wool will offer more warmth and drape.
Stitch Guide & Abbreviations (US Terms)
- ch = chain
- hdc = half double crochet
- BLO = back loop only (insert hook under the back loop of the stitch instead of both loops)
- st/sts = stitch/stitches
- sl st = slip stitch
- YO = yarn over
Step-by-Step Pattern Instructions
Main Body Panel
- Row 1: Ch 41. Hdc in the second ch from hook and each ch across. (40 sts)
- Row 2: Ch 1, turn. Hdc in the BLO of each st across. (40 sts)
- Row 3–50: Repeat Row 2 until the piece measures approximately 18 inches in length or until it fits comfortably around the head with some stretch.
Assembly and Finishing
- Seaming: Fold the rectangle in half, matching the short ends. Using your yarn needle and a long tail, sew the two short edges together using a mattress stitch or whip stitch to create a tube.
- Closing the Crown: Weave your yarn through the edge of one side of the tube. Pull the yarn tail tight to gather the fabric into a circle, closing the hole at the top of the hat. Secure with a double knot.
- Weaving Ends: Turn the hat right side out. Use your tapestry needle to weave in all loose yarn ends securely into the inside of the ribbing.
Care & Washing Instructions
- Hand wash in cool water using a mild wool-safe detergent to maintain the integrity of the fibers.
- Lay the hat flat on a clean towel to air dry, reshaping it while damp to ensure the ribbing settles correctly.
- Do not hang the hat to dry, as the weight of the water can cause the fabric to stretch out of shape permanently.
Pro Tips & Common Mistakes to Avoid
Maintain consistent tension throughout the panel to ensure the height of the hat remains uniform from start to finish. If your tension tightens over time, your hat may have a slight trapezoidal shape instead of a perfect rectangle. Always count your stitches at the end of every row; missing the final stitch in a row is the most common reason for a slanted edge. When weaving in your ends, run the needle through the center of the stitches rather than the gaps to make the seam invisible. You can easily adjust the size by changing the starting chain number; add chains for a slouchier fit or subtract them for a tighter, closer-to-the-head beanie, noting that each additional chain adds approximately one-quarter inch to the total height.
Frequently Asked Questions
Can I substitute a different yarn weight for this pattern?
While you can use a different weight, it will significantly change the gauge and finished size. If you use a lighter yarn, you will need to increase the number of stitches in your starting chain and the total number of rows to maintain the dimensions.
Is this pattern suitable for someone who has never crocheted before?
Yes, this is an excellent starter project. It only requires the half double crochet stitch and the back loop only technique, which are foundational skills that are easy to master with practice.
Can I sell the hats I make from this pattern?
Yes, you are welcome to sell finished items created from this pattern. I only ask that you credit the design to this tutorial when listing your products online.
How do I make the hat fit a child instead of an adult?
To size down for a child, reduce your starting chain by 5 to 10 stitches to decrease the height, and work fewer rows to reduce the circumference of the head. Measure the child’s head circumference and aim for about 2 inches of negative ease for a comfortable fit.
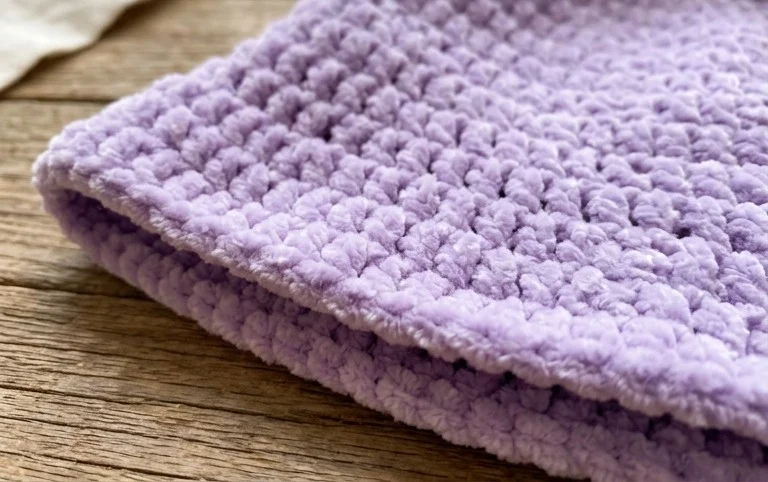
Finishing this project leaves you with a warm, huggable hat that adds a touch of personality to any outfit. You can easily modify the look by using a fuzzy mohair blend for a more realistic bear texture or by sewing on small button eyes for extra character. Please share your finished creation on social media so others can see your work, and do not forget to check our blog archives for more free patterns to keep your hands busy throughout the upcoming season.