Copenhagen Crochet Cowl: Free Beginner Pattern & Video
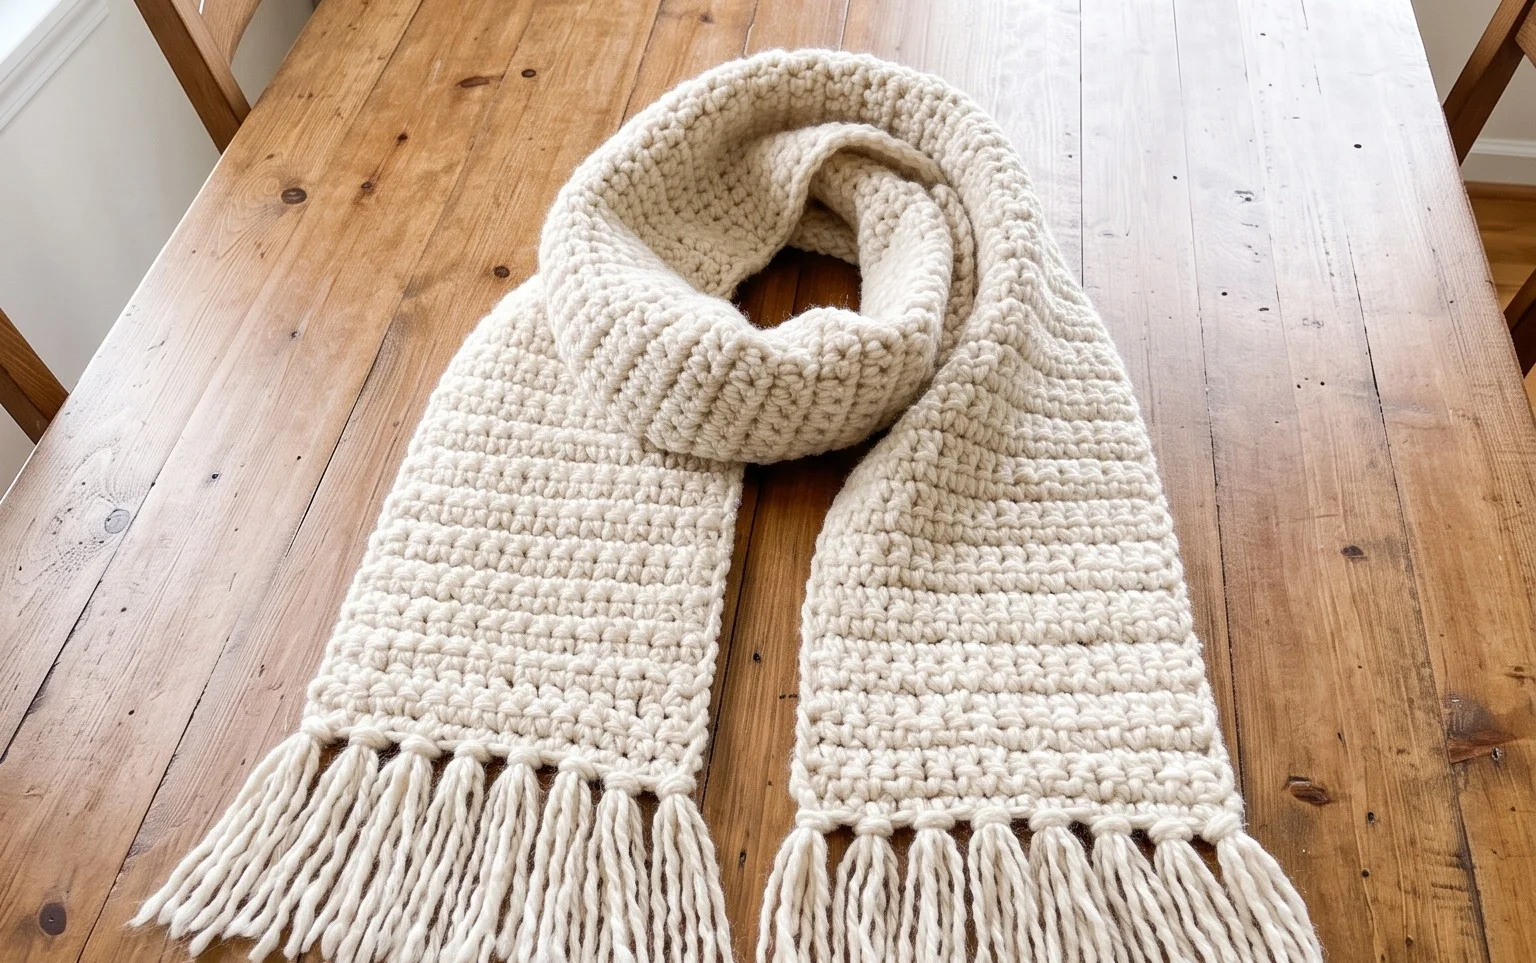
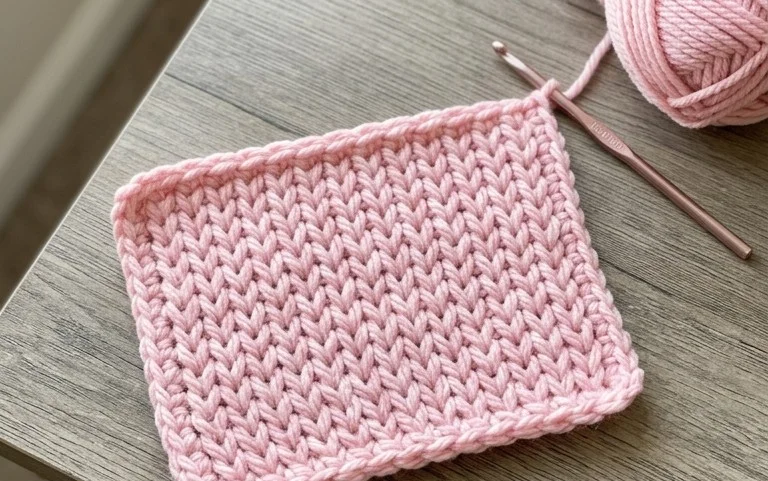
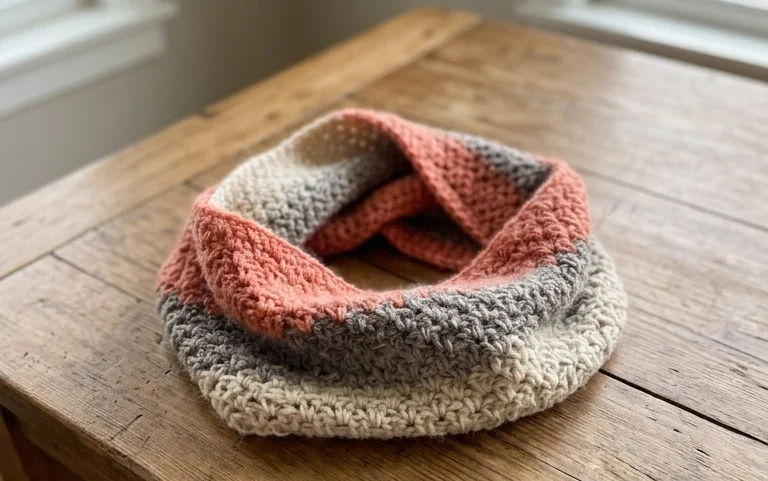
This cozy neck warmer brings a soft, dense texture to your winter wardrobe, shielding you from sharp winds with its thick, double-layered fabric. It suits beginners who want to move beyond simple flat scarves and tackle working in the round. You will find this project deeply satisfying because it transforms a basic stitch into a sculptural accessory that drapes beautifully against the skin. By mastering the single crochet back-loop-only technique, you create a ribbed look that mimics store-bought knitwear. The included video tutorial breaks down the transition between rows, ensuring your edges remain straight and professional while you relax into the steady, repetitive motion of the yarn.
Why You’ll Love This Pattern
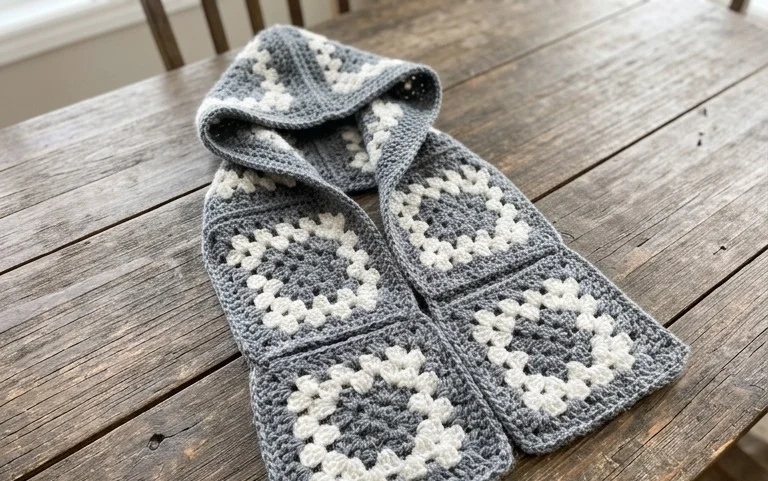
The Classic Crochet Granny Square is the foundation of countless heirloom projects, from blankets to tote bags. This pattern relies on a repeating sequence of double crochet clusters and chain spaces, making it a rhythmic and relaxing project that is easy to memorize after just one or two rounds. Because it works up quickly using standard worsted weight yarn, you can complete a square in under 20 minutes once you get into the flow of the stitches. It is an ideal way to use up leftover yarn scraps, as you can change colors every round to create unique, vibrant color combinations without needing large quantities of a single shade. If you are new to crochet, the repeating nature of the corners and sides provides excellent practice for consistent tension and identifying stitch placement.
I have tried many granny square tutorials, but this one finally helped me understand how to keep my corners square rather than wavy. The instructions for the chain spaces are very clear and helped me maintain my gauge throughout.
— Sarah, hobbyist crocheter
Pattern Overview & Skill Level
- Skill Level: Beginner
- Approximate Time: 15–20 minutes per square
- Construction: Worked in joined rounds, starting from the center and expanding outward
- Finished Dimensions: Approximately 5 inches by 5 inches using worsted weight yarn
Materials & Supplies Needed
- Yarn: Worsted #4 weight, acrylic or wool blend, approximately 15-20 yards per square.
- Hook Size: 5.0 mm (H-8) crochet hook.
- Notions: Tapestry needle for weaving in ends, sharp scissors.
- Safe yarn substitutions: You may use DK weight yarn for a smaller, more delicate square, though you will need to increase the number of rounds to achieve a 5-inch size. Using bulky yarn will result in a larger, thicker square, which may require moving up to a 6.0 mm hook.
Stitch Guide & Abbreviations (US Terms)
- ch = chain
- sl st = slip stitch
- dc = double crochet
- st/sts = stitch/stitches
- sp = space
- cluster = a group of 3 dc stitches worked into the same space
- corner = (3 dc, ch 2, 3 dc) worked into the same chain-2 space
Step-by-Step Pattern Instructions
Center and Foundation
- Rnd 1: Start with a magic ring or ch 4 and sl st to the first ch to form a ring. Ch 3 (counts as first dc), work 2 dc into the ring, ch 2. Work 3 dc into the ring, ch 2 3 times. Join with a sl st to the top of the beginning ch-3. (12 dc, 4 ch-2 spaces)
Expanding the Square
- Rnd 2: Sl st into the next 2 sts and into the first ch-2 corner space. Ch 3, 2 dc, ch 2, 3 dc in the same corner space. Ch 1, skip 3 dc, (3 dc, ch 2, 3 dc) in the next ch-2 corner space 3 times. Ch 1, join with a sl st to the top of the beginning ch-3. (24 dc, 4 ch-2 spaces, 4 ch-1 spaces)
- Rnd 3: Sl st into the next 2 sts and into the first ch-2 corner space. Ch 3, 2 dc, ch 2, 3 dc in the corner space. Ch 1, 3 dc in the next ch-1 side space, ch 1, (3 dc, ch 2, 3 dc) in the next corner space 3 times. Ch 1, 3 dc in the last ch-1 space, ch 1, join with a sl st to the top of the beginning ch-3. (36 dc, 4 ch-2 spaces, 8 ch-1 spaces)
- Rnd 4: Continue the established pattern. Work (3 dc, ch 2, 3 dc) in each corner and 3 dc in every ch-1 side space, separated by a ch 1. Join with a sl st to the top of the starting ch-3. (48 dc, 4 ch-2 spaces, 12 ch-1 spaces)
Finishing
After completing your final round, fasten off by cutting the yarn and pulling the tail through the final loop. Use a tapestry needle to weave the yarn tail securely into the back of the square, moving the needle through the bases of the double crochet stitches to hide the thread.
Care & Washing Instructions
- Hand wash in cool water with a mild detergent to preserve the structure of the stitches.
- Gently squeeze out excess water using a towel; do not wring or twist the fabric.
- Lay the square flat on a clean surface or blocking mat to air dry, pulling gently at the corners to ensure a perfect square shape.
Pro Tips & Common Mistakes to Avoid
- Maintain consistent tension by ensuring your yarn wraps around your hook with equal pressure throughout every dc stitch.
- Place a stitch marker in the first stitch of each round to easily identify where to join with your slip stitch, preventing the common mistake of skipping the start of the round.
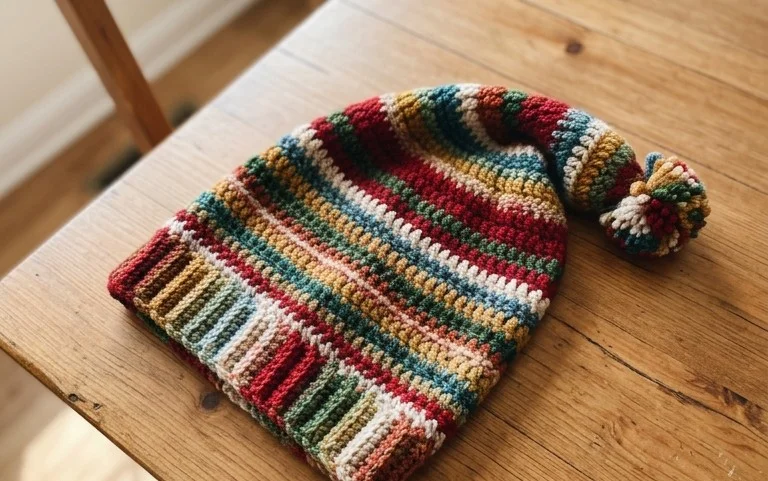
- Weave in your ends as you go, especially if you are changing colors every round, to avoid a tedious finishing process at the end of a large project.
- Adjust the size of the square simply by adding or omitting rounds; note that every additional round adds approximately 1 inch to the total width and uses roughly 5 additional yards of yarn.
Frequently Asked Questions
Can I use cotton yarn for this pattern?
Yes, cotton yarn works beautifully for granny squares. Note that cotton has less elasticity than acrylic, so you may find the squares feel slightly stiffer and hold their shape better.
Is this pattern suitable for making a large blanket?
Absolutely. You can join these individual squares using a whip stitch or a single crochet join to create a blanket of any size, or continue working rounds on a single square to make a giant “log cabin” style blanket.
What should I do if my square is curling or cupping?
Curling usually indicates your tension is too tight or you are missing the chain-1 spaces between clusters. Ensure you are working into the chain spaces clearly and keeping your chains loose enough to allow the fabric to lay flat.
Am I allowed to sell items made from this pattern?
You are welcome to sell finished items created with this pattern. Please use your own photography and credit the original pattern designer when listing your items online.
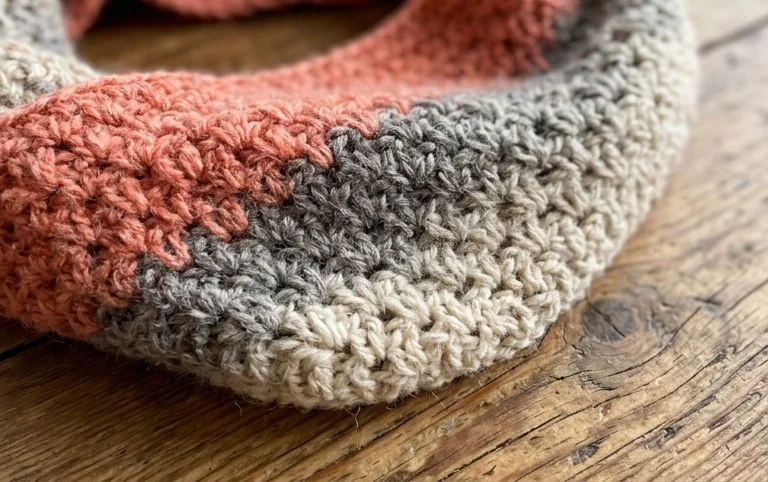
Wrapping your finished cowl around your neck feels like wearing a warm, handmade hug on a chilly morning. You might consider using a variegated wool yarn if you want the stripes to blend into a soft, heathered effect instead of solid colors. Please share a photo of your finished piece on social media so others can see how your color choices turned out. Feel free to browse through the rest of the blog archives for more simple patterns to expand your winter collection.