How to Crochet the Waistcoat Stitch: Step-by-Step Guide
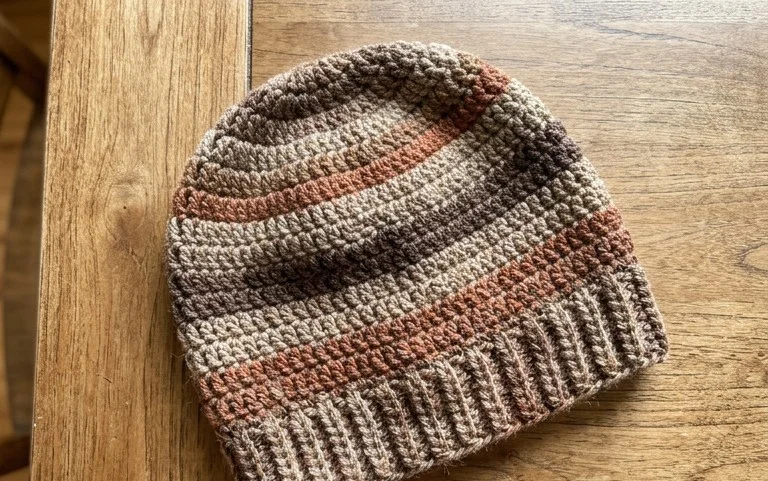
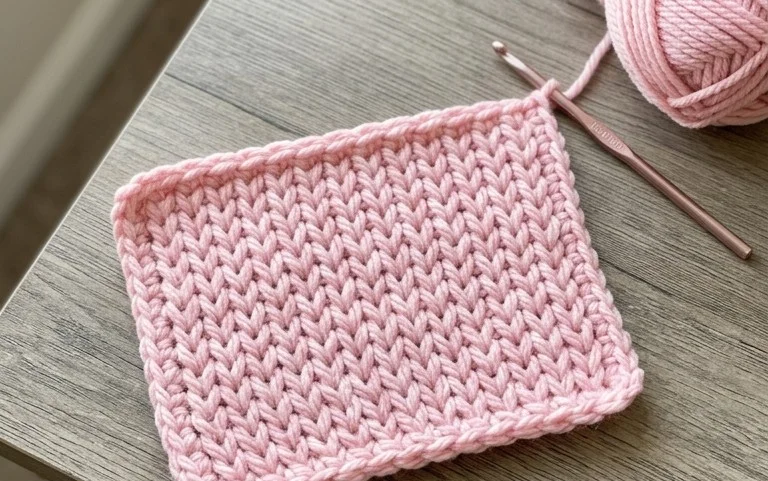
This dense fabric mimics the look of classic knit stockinette but relies entirely on the steady rhythm of a crochet hook. It produces a thick, sturdy surface that holds its shape beautifully, which makes it a favorite for projects that need durability like bags or winter baskets. You will work into the center of the stitch instead of the top loops, creating a tight grain that stays firm under pressure. This guide explains how to position your hook correctly to achieve that uniform, vertical V-stitch appearance while keeping your tension even across every single round you complete.
Why You’ll Love This Pattern
This beginner-friendly crochet coaster pattern uses a simple spiral construction, making it an ideal first project for those mastering the magic ring. Because the design requires very little yarn, it is a perfect solution for cleaning out your stash of leftover cotton ends. You can complete a single coaster in under thirty minutes, allowing you to build a full set of four or six in a single afternoon. The resulting fabric is thick and absorbent, providing a stable surface for hot mugs or cold glasses while protecting your furniture from moisture rings.
These coasters are exactly what I needed to learn how to increase in the round without getting wavy edges. The instructions are very clear and I made a set of four for my living room coffee table in one evening.
— Sarah, hobbyist crocheter
Pattern Overview & Skill Level
- Skill Level: Beginner
- Approximate Time: 20-30 minutes per coaster
- Construction: Worked in continuous rounds from the center outward
- Finished Dimensions: Approximately 4 inches in diameter
Materials & Supplies Needed
- Yarn: Worsted weight (#4) 100% cotton yarn, approximately 15 yards per coaster. Cotton is preferred for its heat resistance and absorbency.
- Hook Size: 5.0 mm (H-8) crochet hook.
- Notions: Tapestry needle for weaving in ends, a stitch marker for marking the first stitch of each round, and scissors.
- Yarn Substitutions: Acrylic yarn can be used, but note that it will not absorb moisture as well as cotton and may melt if exposed to very hot temperatures. If using a thinner sport weight cotton, increase your hook size to 5.5 mm or hold two strands together to maintain the finished size.
Stitch Guide & Abbreviations (US Terms)
- MR: Magic Ring
- ch: chain
- sc: single crochet
- inc: increase (work 2 sc into the same stitch)
- st(s): stitch(es)
- sl st: slip stitch
Step-by-Step Pattern Instructions
Coaster Body
- Rnd 1: Start with a MR. Work 6 sc into the ring. Pull the tail tight to close the center. (6 sts)
- Rnd 2: Work 2 sc in each st around. (12 sts)
- Rnd 3: Work 1 sc, inc 6 times. (18 sts)
- Rnd 4: Work 1 sc, 1 sc, inc 6 times. (24 sts)
- Rnd 5: Work 1 sc in next 3 sts, inc 6 times. (30 sts)
- Rnd 6: Work 1 sc in next 4 sts, inc 6 times. (36 sts)
- Rnd 7: Work 1 sc in next 5 sts, inc 6 times. (42 sts)
Finishing
After completing the final round, slip stitch into the next stitch to create a smooth edge. Cut the yarn, leaving a 6-inch tail. Pull the tail through the final loop and use your tapestry needle to weave the end securely into the back of the coaster. Trim any excess yarn close to the fabric to ensure the bottom sits flat on your table.
Care & Washing Instructions
- Machine wash on a gentle cycle in cold water using a mild detergent.
- Reshape the coaster while damp and lay it flat on a towel to air dry to prevent stretching.
- Avoid using fabric softener, as it reduces the absorbency of the cotton fibers.
Pro Tips & Common Mistakes to Avoid
Maintain consistent tension throughout the project to ensure the coaster remains flat. If you notice the edges starting to ruffle, your tension may be too loose; if it begins to curl like a bowl, your tension is likely too tight. Always place a stitch marker in the first stitch of every round so you do not lose your place during the increases. To weave ends invisibly, feed the yarn tail through the bases of the stitches on the back side of the coaster in both directions. If you wish to make a larger coaster, continue adding increase rounds, keeping the pattern of adding one extra single crochet between increases in each subsequent round, though you will need additional yarn.
Frequently Asked Questions
Can I use a different weight of yarn for this pattern?
Yes, but changing the yarn weight will alter the size of your finished coaster. If you use a thinner yarn, you will need to add more rounds to reach a 4-inch diameter, or use a larger hook to achieve a similar size.
Why is my coaster curling into a bowl shape?
Curling usually happens when there are not enough stitches in a round to keep the fabric flat. Ensure you are completing the full number of increases as listed, and check that your hook size is appropriate for the yarn weight you are using.
Is this project suitable for absolute beginners?
Yes, this is an excellent project for beginners. It focuses on the fundamental skills of working in rounds and basic increases, providing a quick sense of accomplishment without complex shaping.
Am I allowed to sell coasters made from this pattern?
You are welcome to sell finished items made from this design, provided you credit the pattern origin. Please do not redistribute the pattern text or photos on your own websites or platforms.
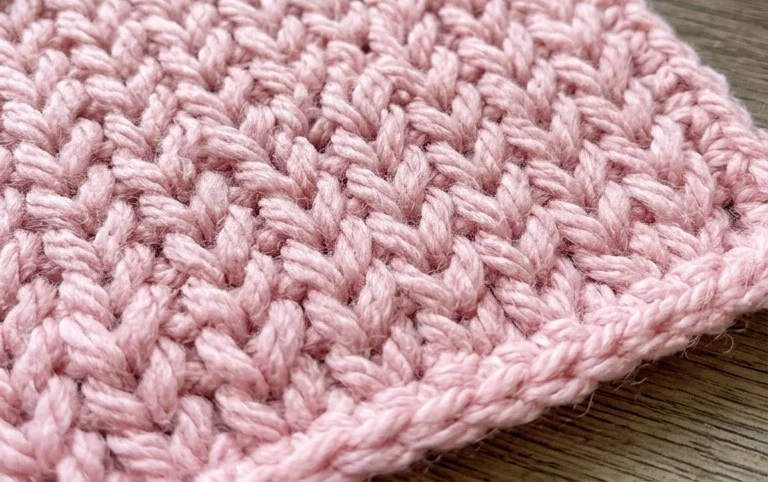
Your finished project shows off a clean, professional finish that stands up to daily wear in any busy household. You might choose to alternate between two contrasting colors in each round to emphasize the unique vertical texture, or perhaps try a chunkier wool blend for a warmer, softer outcome. Sharing your photos on your favorite social platforms helps others find inspiration for their own yarn stashes. Please browse the rest of the blog for more helpful projects and techniques to help you grow your personal skills.